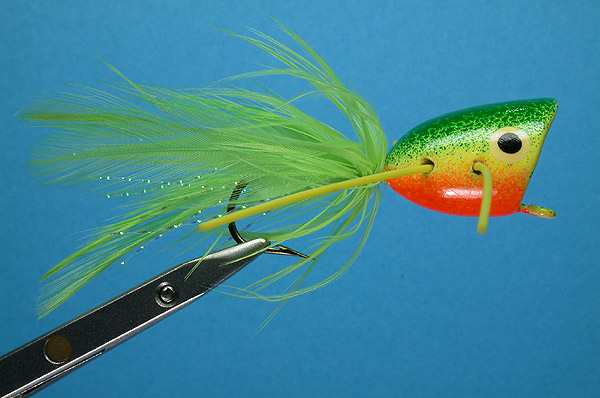
Fire Tiger Popper

Gotta give Gene Trump credit for showing us how to spray paint these popper bodies. After reading his "Fly Tyer" article, coming up with this pattern was a snap. The "Fire Tiger" combination of colors, green over chartreuse over hot orange, is timeless and always effective for bass and panfish.
Tying instructions:
- Wrap a foundation layer of thread over the kinked portion of the hook, to help create a bond between the popper body and the hook. Make sure this is a snug fit, so the body won't slip off the hook while the epoxy is drying.
- Epoxy the body to the hook. I use a needle or a bodkin to fill the gap in the body with epoxy as well as smearing some epoxy on the hook itself. After sliding the body on the hook, I flip it upside down so the "slot" in the body is up. I dribble some leftover epoxy in the slot so that it is slightly raised above the rest of the body.
- Once the epoxy has hardended, I sand the slat area flush with the body as well as sanding smooth any drips or blobs that I may have left behind.
- I paint the body with Testor's model enamel spray paints. I dab the eyes on using sharpened dowel rods. I then coat the whole body with a couple coats of a high gloss polyurethane spray.
- Tie in a few strands of krystal flash and a couple pair of flared hackles for the tail.
- Tie in a hackle and wrap a skirt between the tail and the body.
- Clean out the hook eye if required.